Well, I still love them - only now I've outgrown the Strawberry Shortcake theme (and right as it was coming back into style;). You can purchase these sheets of paper off the Internet and create any theme "shrinky dink" you like! Now I know what you are thinking - what in the world can I make with this crap. Well, I've made charms for jewelry, in class we've made charms and threaded ribbon through to make book marks, key chains, fan pulls, zipper pulls, luggage tags, ornaments and recently I made gift tags with them:) The possibilities are limitless!!
Step one is to google Shrink Paper and choose the kind that works best for you. I bought white, because that's how I roll. But there are clear shrink paper sheets, clear colored shrink paper sheets and more!
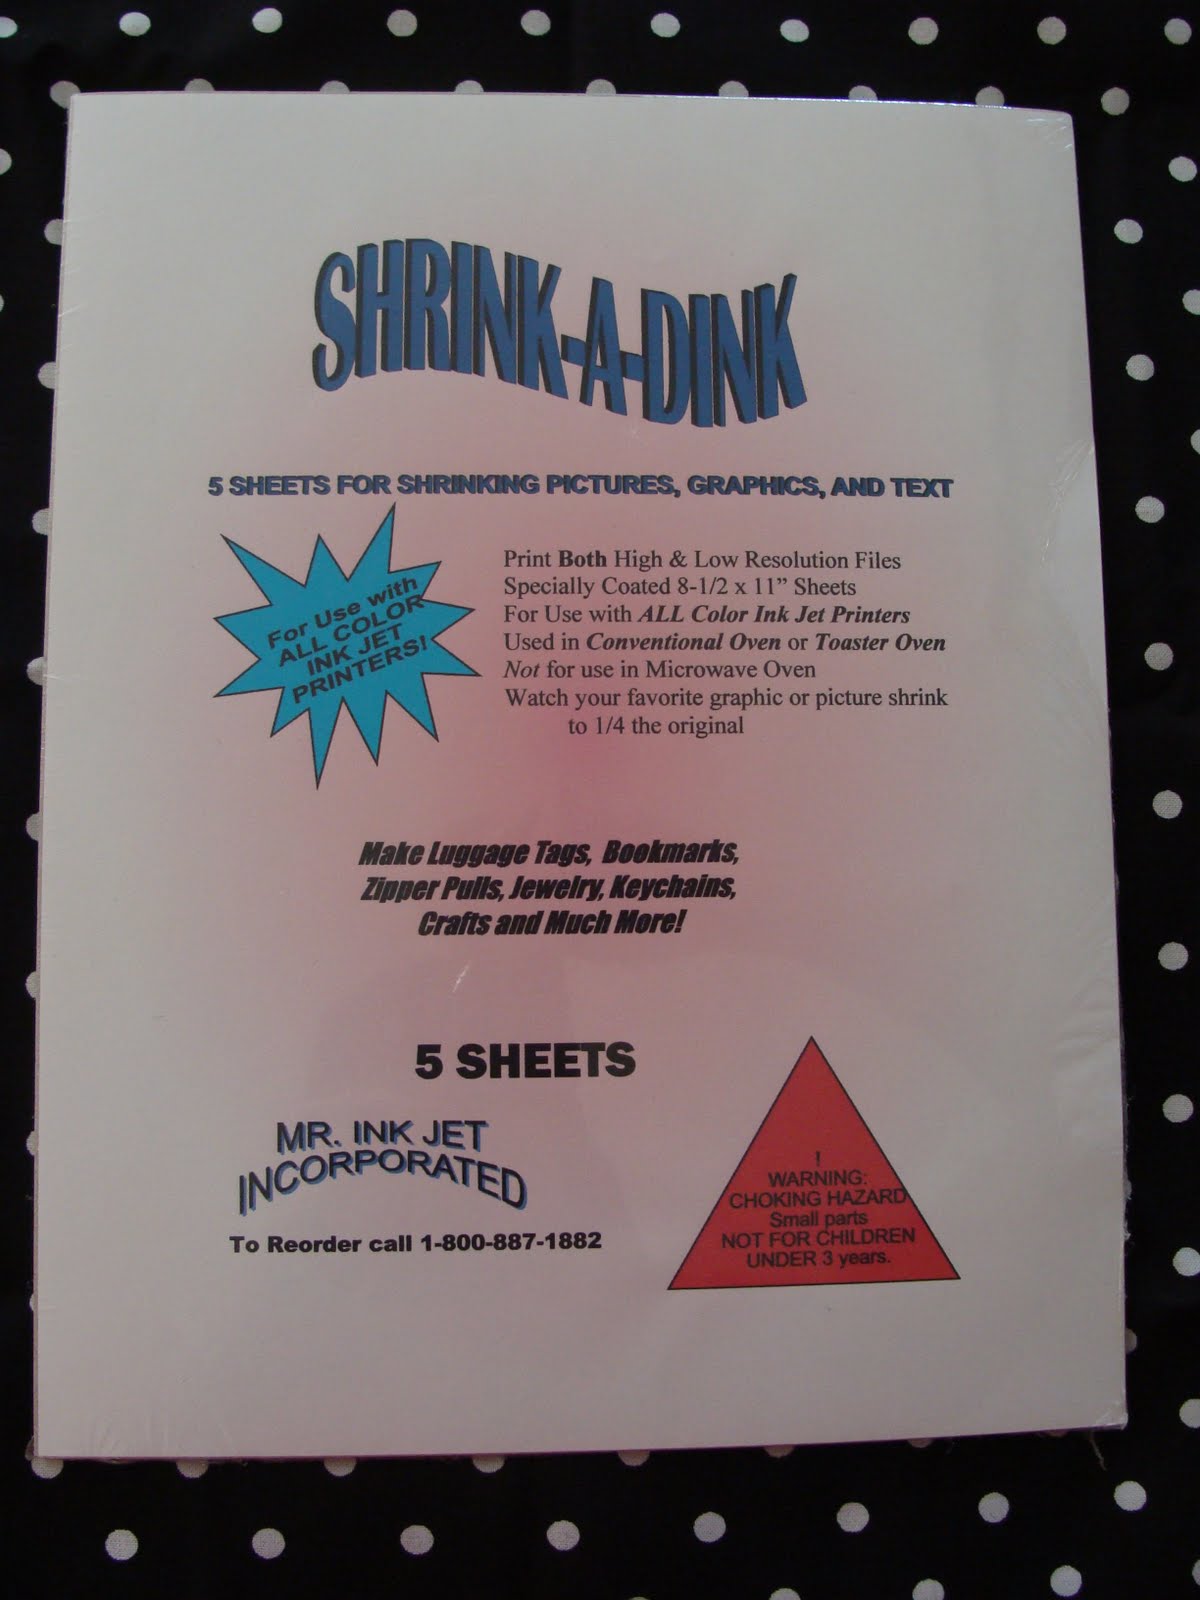 Now please make sure you read the directions for the paper you purchase. And don't be intimidated - most of these directions are common sense.
 The paper I purchased can be printed on from a computer printer - or you can just draw on it. Or you can do what I did and do BOTH! I decided to make tags for our themed bingo baskets. I thought they would be cute additions to the baskets and the kids love them. So, I first printed out what I wanted the tag to say and then I traced the shape around the words I printed. See....
 Then I added the other words and shape to the page so I wouldn't be wasteful. Then I colored the images with colored pencils. Now I could have printed everything on the paper from the computer but I wanted this to look whimsical and I think I achieved my goal.
 Next I cut the shapes out leaving a small white border around the image. It looks better this way and it ensures that the whole image will be seen once it shrinks. Sometimes the image can get warped when shrinking so it's always a good idea to leave a little border.
Then I punched a hole in the paper where I want to string or thread ribbon through to hang the tag. I took a picture of these tags prior to shrinking them so you can see how big they are related to the scissors and hole punch.
 Next you place your image on a clean cookie sheet...or in my case a clean cookie sheet that looks dirty because I bake a lot which is why I'm trying to lose weight and trying to run now but it isn't really working because I'm hungry and so I keep baking more crap and OH yeah, the shrinky dinks.....
 I placed them in the oven at 375 degrees for 2 minutes and watched them very closely. Now don't panic because (just like when we were little) they still curl way up into a ball and rock back and forth in the oven. Then they start to unfurl again and lay flat. Once you see the shrinky dink has stopped moving completely take it out. I usually have a very thick potholder or towel in my hand and I press down to make sure the shrinky dink is flat. These are very pliable when they are coming out of the oven but they begin to harden quickly so you want to "flatten" it out as you are bringing it out from the oven. And presto here are the tags shrunk. See how small they are compared to the scissors and the hole punch now?
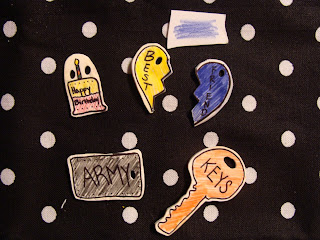
 Here are all the things my children made from the scraps of the sheet we used to make the tags above. We made a birthday charm to go on a present for my daughter's friend. We made a best friend's charm to go on a bracelet my other daughter is making. I wanted you to see how the colors become darker and more intense when they are baked. The scrap of paper above the best friend's tag is the original color before it was shrunk. SO, be careful you use lighter colors when coloring!! We practiced making an Army "dog tag" for my son and we made a charm for a key chain.
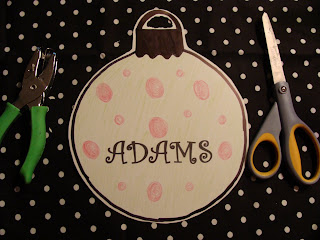
 Next we decided to make a Christmas ornament. These are GREAT holiday crafts to make with your kids. You can actually attach them as gift tags that can then be used as an ornament. Below I again printed the words off the computer that I wanted on the ornament. Then I traced the ornament template around the words. I used the whole sheet because I wanted it to be the size of a regular ornament once it was completed.
 Then my daughter's and I colored it in. We liked polka dots for this one. Next we cut out the shape and punched out a pretty big hole to later thread ribbon through. Again, I took a picture for you to see the size before we shrunk the ornament.
 And here it is after it's been baked and shrunk. All it needs now is some cute red ribbon!!
 You can also use this paper to print photos on and then shrink them to make ornaments, charms, puzzle pieces, game pieces...whatever you can imagine!! What crafts have you made with your shrink paper?
 Next you place your image on a clean cookie sheet...or in my case a clean cookie sheet that looks dirty because I bake a lot which is why I'm trying to lose weight and trying to run now but it isn't really working because I'm hungry and so I keep baking more crap and OH yeah, the shrinky dinks.....
 I placed them in the oven at 375 degrees for 2 minutes and watched them very closely. Now don't panic because (just like when we were little) they still curl way up into a ball and rock back and forth in the oven. Then they start to unfurl again and lay flat. Once you see the shrinky dink has stopped moving completely take it out. I usually have a very thick potholder or towel in my hand and I press down to make sure the shrinky dink is flat. These are very pliable when they are coming out of the oven but they begin to harden quickly so you want to "flatten" it out as you are bringing it out from the oven. And presto here are the tags shrunk. See how small they are compared to the scissors and the hole punch now?
 Here are all the things my children made from the scraps of the sheet we used to make the tags above. We made a birthday charm to go on a present for my daughter's friend. We made a best friend's charm to go on a bracelet my other daughter is making. I wanted you to see how the colors become darker and more intense when they are baked. The scrap of paper above the best friend's tag is the original color before it was shrunk. SO, be careful you use lighter colors when coloring!! We practiced making an Army "dog tag" for my son and we made a charm for a key chain.
 Next we decided to make a Christmas ornament. These are GREAT holiday crafts to make with your kids. You can actually attach them as gift tags that can then be used as an ornament. Below I again printed the words off the computer that I wanted on the ornament. Then I traced the ornament template around the words. I used the whole sheet because I wanted it to be the size of a regular ornament once it was completed.
 Then my daughter's and I colored it in. We liked polka dots for this one. Next we cut out the shape and punched out a pretty big hole to later thread ribbon through. Again, I took a picture for you to see the size before we shrunk the ornament.
 And here it is after it's been baked and shrunk. All it needs now is some cute red ribbon!!
 You can also use this paper to print photos on and then shrink them to make ornaments, charms, puzzle pieces, game pieces...whatever you can imagine!! What crafts have you made with your shrink paper?
I made ornaments one year using stamps. They were cute on a mini tree. Hair bow centers or hair clip doohickeys are cute from Shrinky Dinks too. :)
ReplyDeleteGreat ideas Anna!!
ReplyDeleteYou continue to amaze me with your creativity! You know I am the Room Parent Liaison this year at FDES and I think I will make sure all of the Room Parents are aware of your blog! Keep it comin'! :)
ReplyDelete